Adding and editing clients
Overview
This article walks you through creating updating, and archiving clients in Chronicler. The process is straightforward and is similar to other software that you may already be familiar with.
Adding clients
-
Click on the “Clients” options on the left side menu to go to your clients dashboard.
-
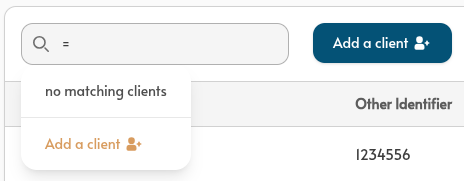
Click the blue “Add a client” button or the “Add a client” option when you search for clients. The “Add a client” form will slide into view.
-
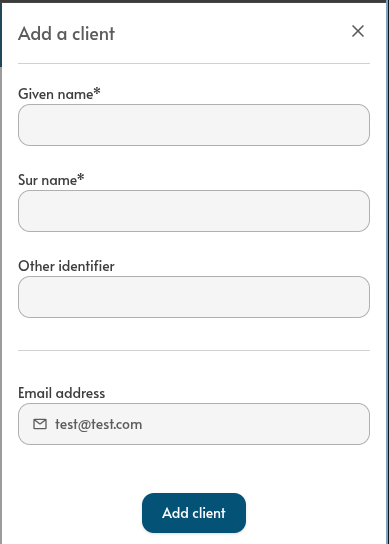
Enter the following information as needed into the form.
- First name (i.e. given name)
- Last name (i.e. family name)
- Other identifier
- This is optional, but could be helpful if you have a client id or similar unique identifier that you use to identify a client in other systems.
- Email address
Note
If an email address is entered, Chronicler will send an email to the client asking for consent to send digital communications. The client can click the link in the mail to opt in (or opt out) of receiving emails from Chronicler.
Chronicler will only send form links and other emails to clients who have opted in.
-
Click the "Add client" button to add the client to Chronicler.
Editing client details
-
Click on the “Clients” options on the left side menu to go to your clients dashboard.
-
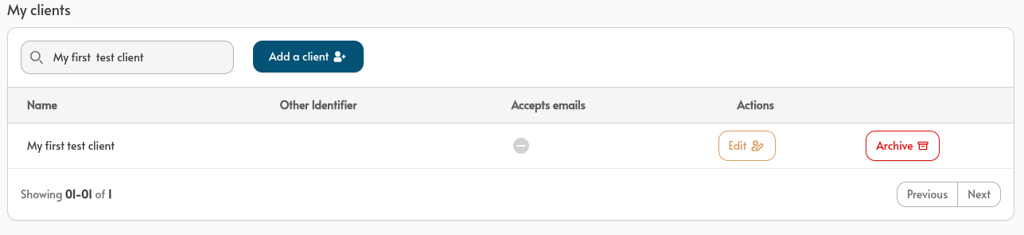
Search and select the client you wish to update.
-
Click the “Edit” button to edit the client’s details. The “Edit client details” form will slide into view.
-
Make any changes that are needed.
Tip
You can click the “Resend consent email” button to request that your client opt in to emails from Chronicler.
-
Click the “Save changes” button.
Archiving clients
Warning
Archiving a client removes the client and their associated information (forms, notes, etc.) from your Chronicler view.
-
Click on the “Clients” options on the left side menu to go to your clients dashboard.
-
Search and select the client you wish to remove.
-
Click the red “Archive” button.
-
Confirm that you do really want to archive the client.
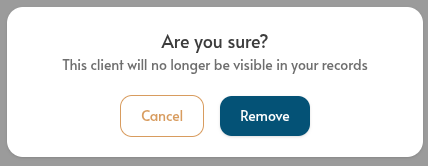
The client will no longer appear in your Chronicler view.