Connecting a Google Calendar
Overview
Chronicler can integrate with your Google Calendar to automatically send pre- and post-session forms to your clients before and after their sessions. This article provides step-by-step instructions for configuring Chronicler to sync sessions from your Google Calendar.
Connecting a Google Calendar
Connecting your Google calendar will allow Chronicler to view the events on that calendar.
Note
Chronicler does not make any changes to your Google calendar.
-
Click “My settings” option on the left side menu to go your settings.
-
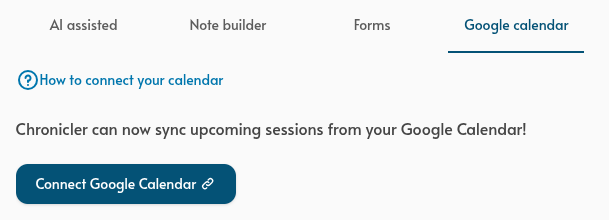
Click the “Google Calendar” tab.
-
Click “Connect Google Calendar” button to start the connection process.
-
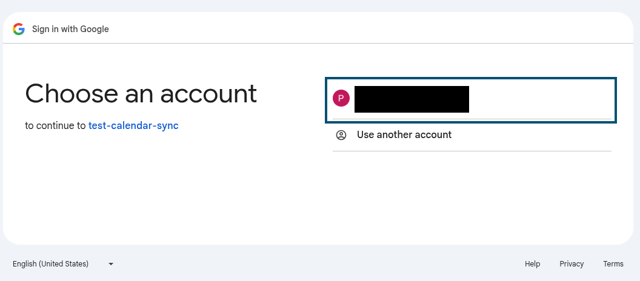
Choose the Google account that owns the calendar you wish to connect
-
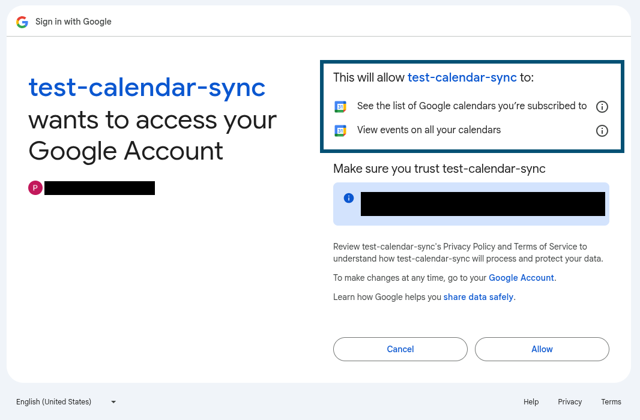
Click “Allow” to allow Chronicler-calendar-sync to view your calendars and events
Info
You will see “Chronicler-calendar-sync…” instead of “test-calendar…”
-
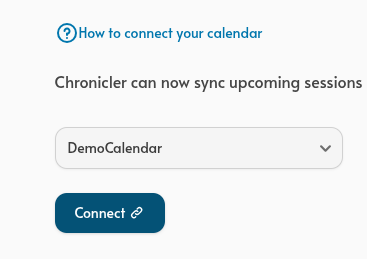
Choose the calendar that Chronicler should connect to.
-
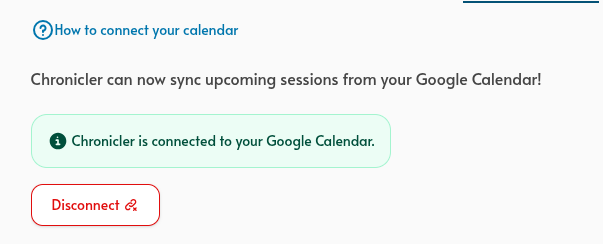
Click “Connect” and Chronicler will connect to your selected calendar.
Info
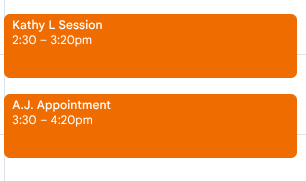
Chronicler checks your calendar for events that have one of the following keywords in the title:
- Appointment
- Session
For example, both of these events will be detected as potential therapy sessions.
Confirming sessions synced from your calendar
Since there is a lot of variety in naming therapy sessions in calendars, it’s not possible for Chronicler to automatically know which client a session is for.
For example, one calendar might include the full client name in the title (e.g. “Jane Doe session”), while another omits the client name completely (e.g. “appointment”).
As a result, you will need to confirm which client belongs to which session when Chronicler notifies you that sessions have been synced from your calendar. The steps below illustrate how to confirm sessions in Chronicler.
-
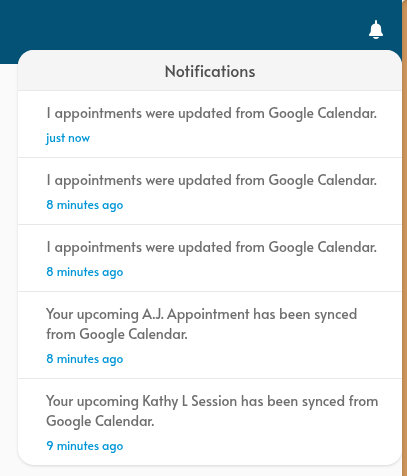
You’ll receive a notification that new sessions have been synced from your calendar.
-
A red dot near the notifications bell in the upper right corner of Chronicler lets you know that you have unread notifications.

-
-
Click the notifications bell to view your notifications.
-
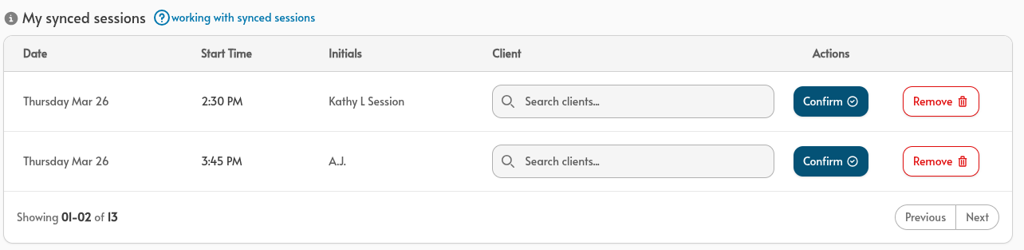
Click one of the notifications that says “Your upcoming session has been synced” to go to your Sessions dashboard.
-
Select (or add) the client for the session.
-
Click the “Confirm” button to confirm that the selected client belongs to that session.
- If an incorrect calendar event is present, you can click the “Remove” button to get rid of it.
-
Repeat this process to confirm your upcoming sessions.
Tip
As a starting point, we recommend confirming your sessions on a weekly basis. For example, if you normally start your work week on Monday, you could confirm those sessions in Chronicler on Sunday evening.
Disconnect a calendar
If you want Chronicler to stop syncing events from your calendar, you can disconnect your calendar at any time by following the following steps.
-
Click the “Disconnect” button.
-
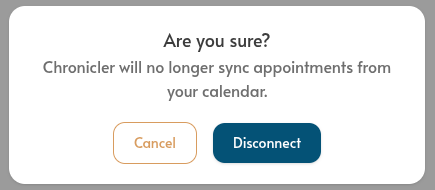
Confirm your choice in the confirmation popup.
Note
Sessions that were synced before you disconnected the calendar are still available in Chronicler.